
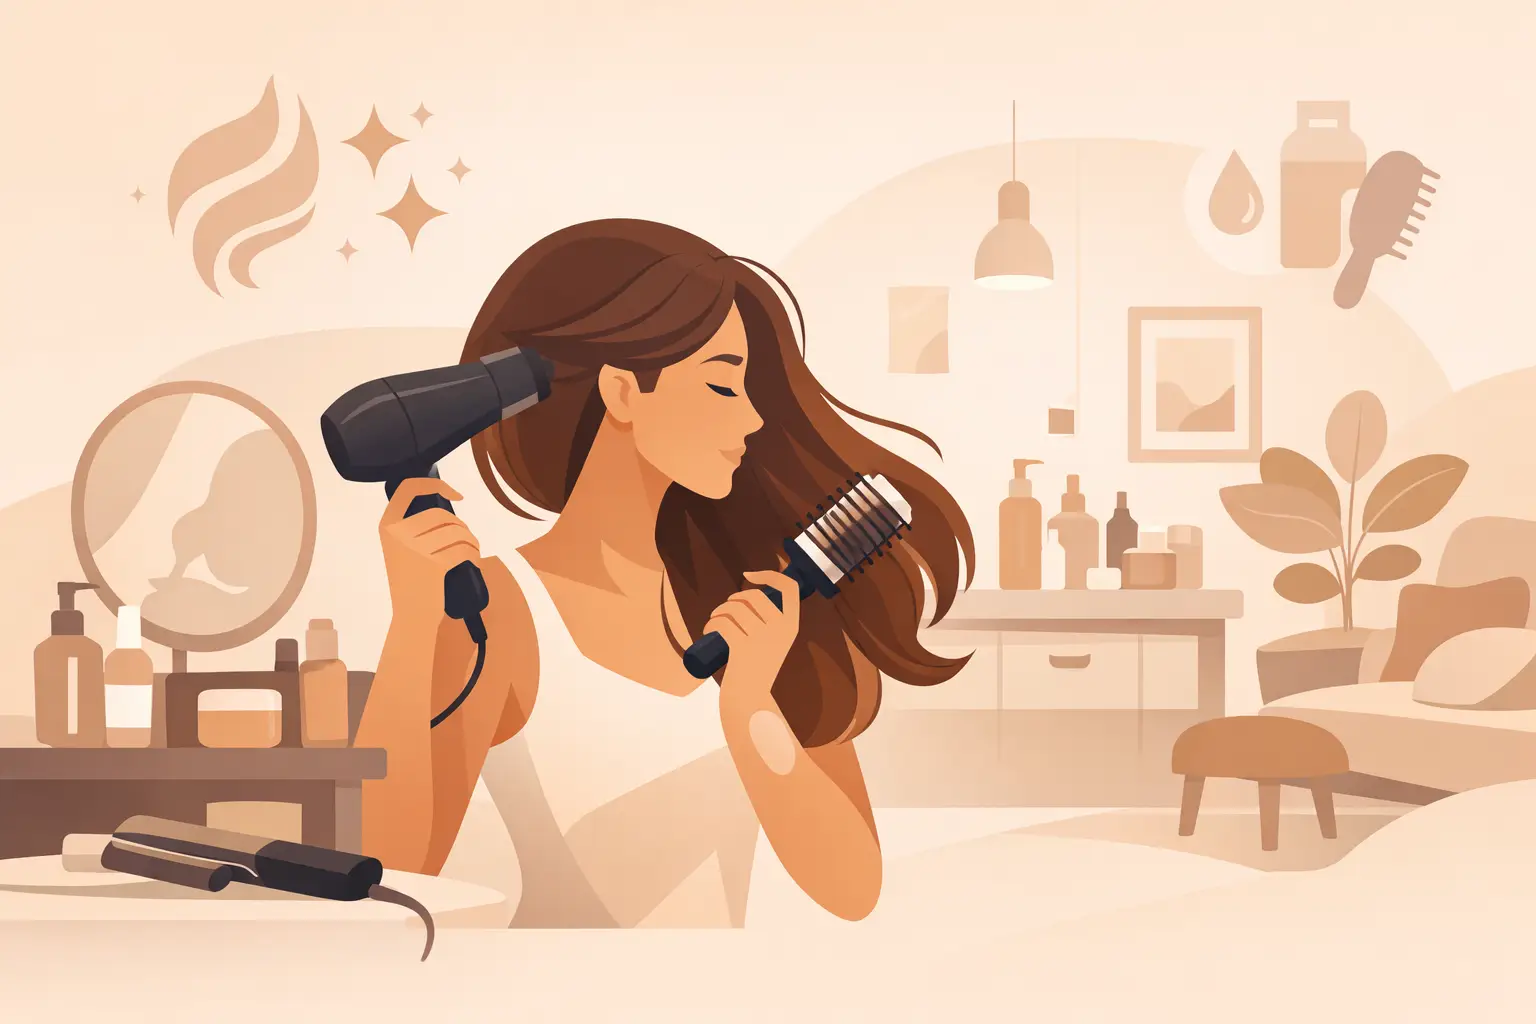
The difference between hair that looks freshly styled and hair that feels truly salon-finished is rarely a single product. It is the sequence: the right prep, controlled heat, intentional sectioning, and a tool that suits your hair and your preferred finish. This guide to salon results at home focuses on the details that turn a daily routine into a polished ritual.
Build Your Guide to Salon Results at Home Around Prep
Great styling begins before your tool is switched on. Hair that is overloaded with dry shampoo, heavy oil, or product buildup will not move or hold the same way as freshly cleansed hair. For a sleek blowout or bouncy waves, start with clean hair and use conditioner where it counts – through mid-lengths and ends, not heavily at the roots.
After washing, remove excess water gently with a microfiber towel or soft cotton T-shirt. Rubbing aggressively can roughen the cuticle, create frizz, and make a smooth finish harder to achieve. Your hair should be damp, not dripping, before you begin styling.
Heat protection is not an optional extra when you use high-performance tools regularly. Apply it evenly, then add only the styling support your hair needs. Fine hair often benefits from a lightweight root-lifting product or mousse. Thick, textured, or dry hair may need a smoothing cream through the lengths. The goal is controlled movement, not a coated, stiff result.
Sectioning Creates the Difference You Can See
Salon stylists do not work through random handfuls of hair, and neither should you. Divide your hair into manageable sections: lower layers first, then the middle, then the crown. Smaller sections take a little longer, but they receive more even airflow and heat. That means fewer passes, more shine, and a style that lasts longer.
Use clips that hold hair securely without tugging. Keep each section no wider than the barrel or brush you are using. If your hair is very dense, make the sections thinner rather than turning up the temperature.
Choose the Tool for the Finish You Want
Premium hair technology earns its place when it gives you more control, not simply more heat. The right tool should make your preferred style easier to repeat while helping you reduce unnecessary exposure to high temperatures.
A high-speed dryer with a concentrator attachment is the strongest choice for a smooth, classic blowout. Direct airflow down the hair shaft while following with a round brush. This encourages the cuticle to lie flat, which is where that glossy, polished finish comes from. A diffuser is the better choice when you want to preserve natural curl pattern and create definition without disturbing the shape.
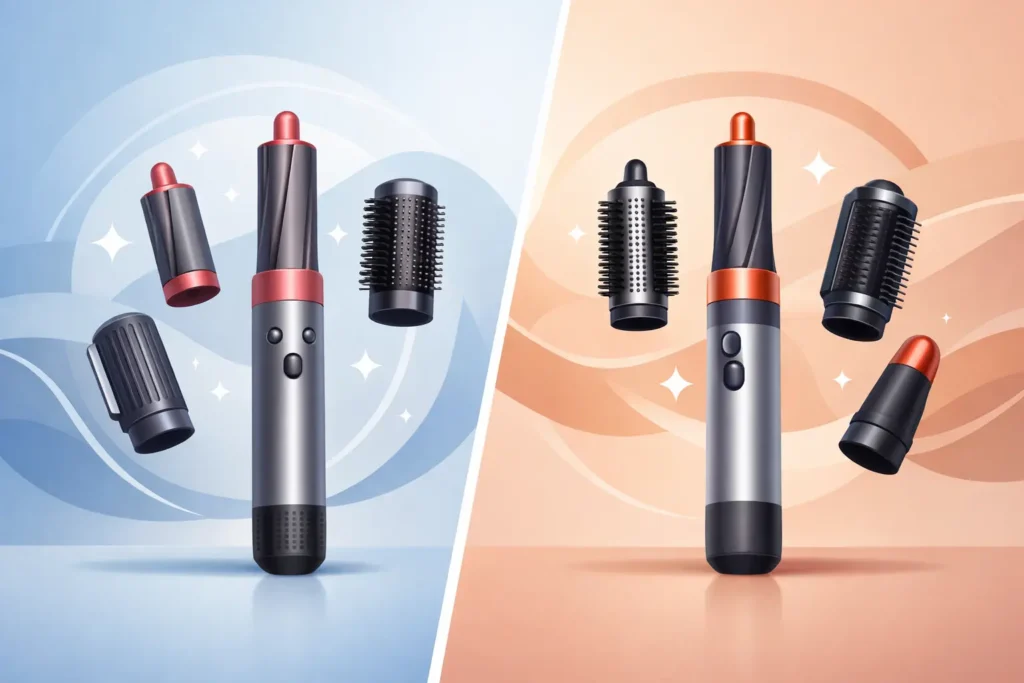
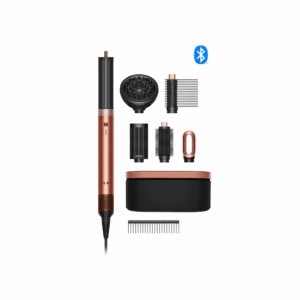
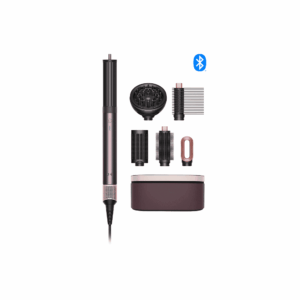
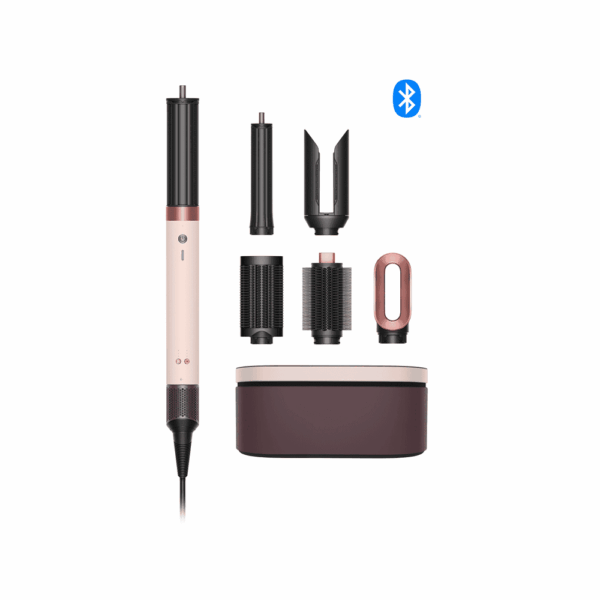
An air styler is ideal for someone who wants soft volume, rounded ends, or loose waves with a more approachable technique. It can be especially useful for styling hair from damp to finished in one routine. The trade-off is that very coarse or highly resistant hair may still need a finishing pass with a straightener for a glass-smooth look.
A premium straightener offers precision. Use it for a sleek finish, refined bends, or polishing the areas around the face and crown. It is not necessary to clamp every section repeatedly. One slow, deliberate pass on fully dry hair is more effective than several rushed passes. If you can hear sizzling or see steam beyond a light trace of product evaporation, pause and reassess your temperature and hair dryness.
The Salon Method: Dry, Shape, Set
The most reliable at-home styles follow a simple rhythm: dry the roots, shape the lengths, then let the style set before you touch it too much.
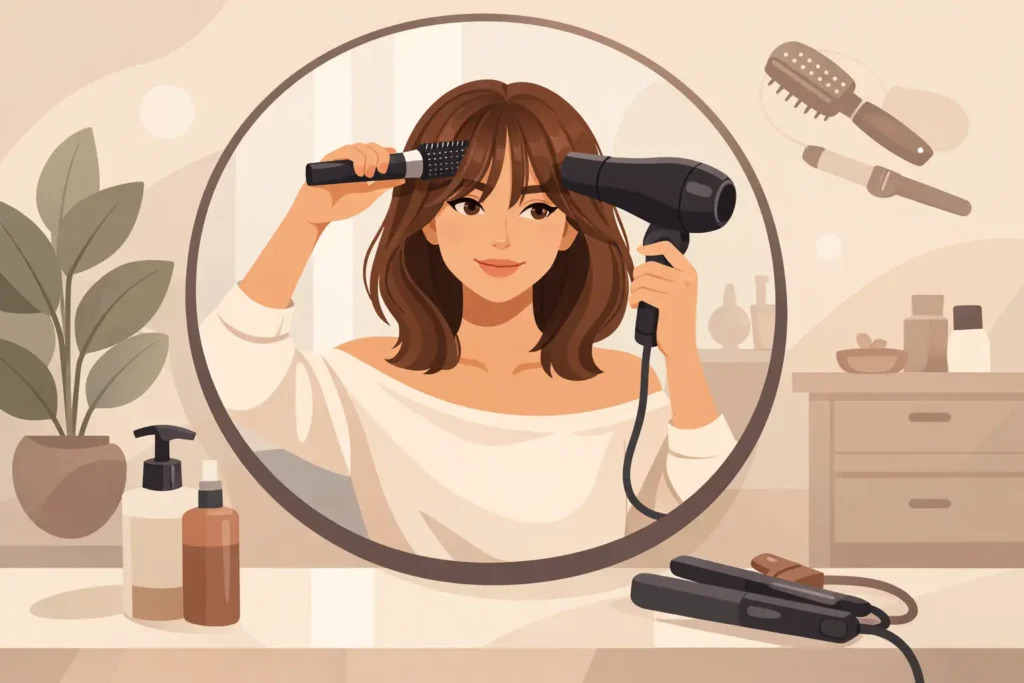
For a smooth blowout, begin at the roots. Lift each section upward and aim airflow from root to end. Once the roots are nearly dry, use tension with a round brush to smooth the lengths. Finish each section with a cool shot if your dryer has one. Cooling helps the hair settle into its new shape and can make a noticeable difference in shine.
For volume, the crown needs attention before the ends. Overdirect sections at the top of your head slightly forward or upward as you dry them. When hair cools in that lifted position, it is more likely to retain body. Do not apply rich oils at the root area afterward. Save a small amount of finishing product for the ends, where it adds definition without flattening your style.
For soft waves, choose a direction before you start. Alternating curl direction creates a relaxed, modern finish, while curling all sections away from the face gives a more uniform, glamorous result. Let each curl cool fully before brushing it out. This is the step many people rush, then wonder why their style falls before dinner.
For a sleek, straight style, rough-dry hair until it is completely dry, then work in narrow sections with a straightener. Comb each section just ahead of the plates so the tool glides through smoothly. Keep the motion steady from root to end. A tiny amount of lightweight serum on the final two inches can give a high-shine finish, but too much will make clean hair look oily.
Use Heat Settings With Intention
Higher heat is not automatically better. Fine, color-treated, or fragile hair usually responds best to lower settings and careful technique. Medium heat is a practical starting point for most hair types. Thick, coarse, or resistant textures may need more heat, but should still be styled in small sections to limit repeat passes.
Think of temperature as one part of the equation. Airflow, brush tension, tool quality, and section size all influence the result. A precise tool can help you achieve a polished style at a more considered setting than an older device that relies on excessive heat.
Why Your At-Home Style May Not Last
When a style falls quickly, the cause is often practical rather than mysterious. Check these four common factors before changing your whole routine:
- Hair may have been too wet when shaped, leaving the interior of each section unable to hold the finish.
- Sections may have been too large, so the heat and airflow never reached all the hair evenly.
- The hair may not have cooled before being brushed, pinned, or touched.
- Product may be too heavy for your texture, especially at the roots.
Humidity also changes the equation. On damp or rainy days, a smoothing cream or anti-frizz finishing product can help, but no product can replace a properly dried foundation. If your hair tends to expand in humidity, spend extra time directing airflow downward and ensure the roots are fully dry.
Make Premium Tools Work Harder for You
A luxury hair tool should feel like an investment in your everyday routine, not something reserved for special occasions. Keep attachments clean, remove hair from brushes after each use, and check filters regularly if your dryer includes one. Consistent maintenance protects performance and helps the tool deliver the airflow and control you paid for.
It also helps to choose fewer, better products. A dependable heat protectant, one texture-specific styling product, and a lightweight finishing product are usually enough. A crowded cabinet does not guarantee better hair. Thoughtful technique and premium quality tools often deliver more visible results than layering product after product.
Give yourself ten extra minutes the first few times you try a new method. Once you learn the sectioning pattern, heat level, and attachment that suit your hair, salon-worthy styling becomes less of an occasion and more of a quiet daily luxury.